Check a live version:
Check out live version of the website that I made. https://status.blackpiratex.com/
Blogs are great if you want to write something that is atleast one paragraph. But for those one line thoughts that comes to your mind, which you want to share with the world or want to write it down, ‘cause most likely you would not remember it in future, microblogging is the way to go. If you are not familier with this term, it means twitter like platform, where you can make posts but those would be not more than a paragraph.
Features:
- Website is fully static. HTML and CSS only. (JS used only for fontawesome)
- Totally free (other than domain) and going to be free for a long long time.
- Ability to add images, embed youtube etc.
- Auto compression of images.
- Ability to add tags/moods.
- Very lightweight. Should load faster than light. (if you want more speed, remove fontawesome from the head and css and make those images hyperlink).
- Everything stays on github, so it would be easier to backup.
Inspiration:
I do not like social media. It is not the privacy concern or the fact that I would spend my time there much more than I would have anticipated, but rather it’s the fear of losing all my data. 40-50 years into the future I want all my shitposts to be preserved. And I do not think that any mainstream social media websites like Twitter, Facebook, Instagram etc would stay functional that long into the future. And even if they are, there’s nothing stopping them from deleting old stuff from their servers. Or maybe for some reason your account gets banned or hacked. There is so many ways you can lose your data.
But if you “own” your data, i.e storing your own data somewhere where you have full control, almost all these problems will be solved. You can still lose your data, so you need to take responsibility. I am willing to do that. That’s why I made this twitter like microblogging website. All the files are stored on github. And needless to say I have local copy of these files.
How-to
There is three things I used to set up this website,

- Hugo (Static site generator)
- Netlify (platform to deploy my website for free
- GitHub ( to host all the files)
Step by Step Process:
- First I have made a theme for Hugo. (It is a modified version of the theme I had made earlier here.) In this theme all the posts resides on the homepage with their whole content. It shows date and time in a pill shaped design.
- Whole website folder is a git repo and it is uploaded to GitHub, see here.
- I used netlify and linked my repo for it to build and deploy my website whenever new commit is done in github.
- Installed GitJournal app on my android and now I can post from my phone easily.
Breakdown of steps:
Step 1:
On the home page of my website there is a loop which goes through all the posts grabs their date and time, and content and makes those appear on the home page.
{{ range (.Paginator 100).Pages }}

<div class="status-all">

<p>

<div class="time">

<span class="relativetime" datetime="{{ dateFormat "2006-01-02T15:04:05" .Date }}" title="{{ dateFormat "January 2, 2006" .Date }}"><span class="date-only">{{ .Date.Format "02 Jan 2006" }}</span> | <span class="timeam">{{ .Date.Format "15:04" }}</span></span>

</div>

{{ .Content }}

{{ if isset .Params "tags" }}

<span class="mood"></span>

{{ range (.GetTerms "tags") }}

<span>

<a href="{{ .Permalink }}">{{ .LinkTitle }}</a></span>

{{ end }}

{{ end }}

</p>

</div>

<br>

{{ end -}}
The very first line is the start of the loop. It basically says that give me all the pages (post pages). The .Paginator 100 parts basically tells that I want first 100 pages. Then the loop runs. The {{ if isset .Params “tags” }} part checks for any tags, if there is any tag associated with the post, then it would run another loop. It will grab all those tags and display them. If there is no tags added to the post, this loop would not run. So if you have not added any tags to the post it would not show them.
{{ if .Paginator.HasPrev }}

<a class="btn btn-default" href="{{ .Paginator.Prev.URL }}">

< Newer Statuses

</a>

{{ end }}

{{ if .Paginator.HasNext }}

<a class="btn btn-default" href="{{ .Paginator.Next.URL }}">

Older Statuses >

</a>

{{ end }}
This part adds two links to the end of the page. The very first loop checks if there is any newer statuses, that this page does not contain, then it would run and display a hyperlink called Newer Statuses.
The second loop does exactly same except it would show Older Statuses if there is any older posts available.
Basically after you have made over 100 posts, it would add a link to the very bottom of the homepage to link to the older posts. And when you go the page 2 it would show newer posts link at the bottom of the page.
This is all there is to the theme. You can go ahead and edit much more like page of each post and everything else. But it is not really necessary because everything would reside on the home page.
Step 2:
After you’ve made everything locally. It’s time to put it in front of the world. Go ahead and make a repository on GitHub and upload your files there. You can also use git CLI to upload all your files to a github repository. This should be a very easy task to do.
Step 3:
It’s time to link Netlify with GitHub. Go to netlify.app and sign up using your GitHub account. After you’ve done that and on netlify dashboard, click on add new site. You should choose import existing project. Now it would ask you to choose a git provider. Because our repository is uploaded on GitHub.com we are going to choose GitHub option. If you have used any other service to host your git repository choose that option from the list.
After choosing GitHub it would ask for permission. Grant the permission that are necessary. Once you’ve done that a list of all your repositories along with a search bar would appear. You have to choose the repository you uploaded your files into. Now it would ask for few things. All you have to do is change the build command. Type hugo in the build command. Then go ahead and deploy the site.
Your website should now be live. You can check out netlify documentation here for more information, or hugo documentation about deploying on netlify here.
If you’ve done to this point, you’re ready to have your own microblogging platform. Now everytime you create a file on content folder of your git repository with correct formatting, netlify would automatically rebuild your website and update. This way any changes you make will automatically be published.
Step 4:
Most of the hard work has been done, but there is another thing that you need, unless it would be pretty useless. That is being able to post there quickly using smartphones.
I own an android, so this part would be android specific, if you own an iPhone you would have to figure it out yourself.
Go to playstore and search for GItJournal. Install this app. Here is the link if you cannot find it on the playstore. Open the app and connect to the github repository where all your website files are located.
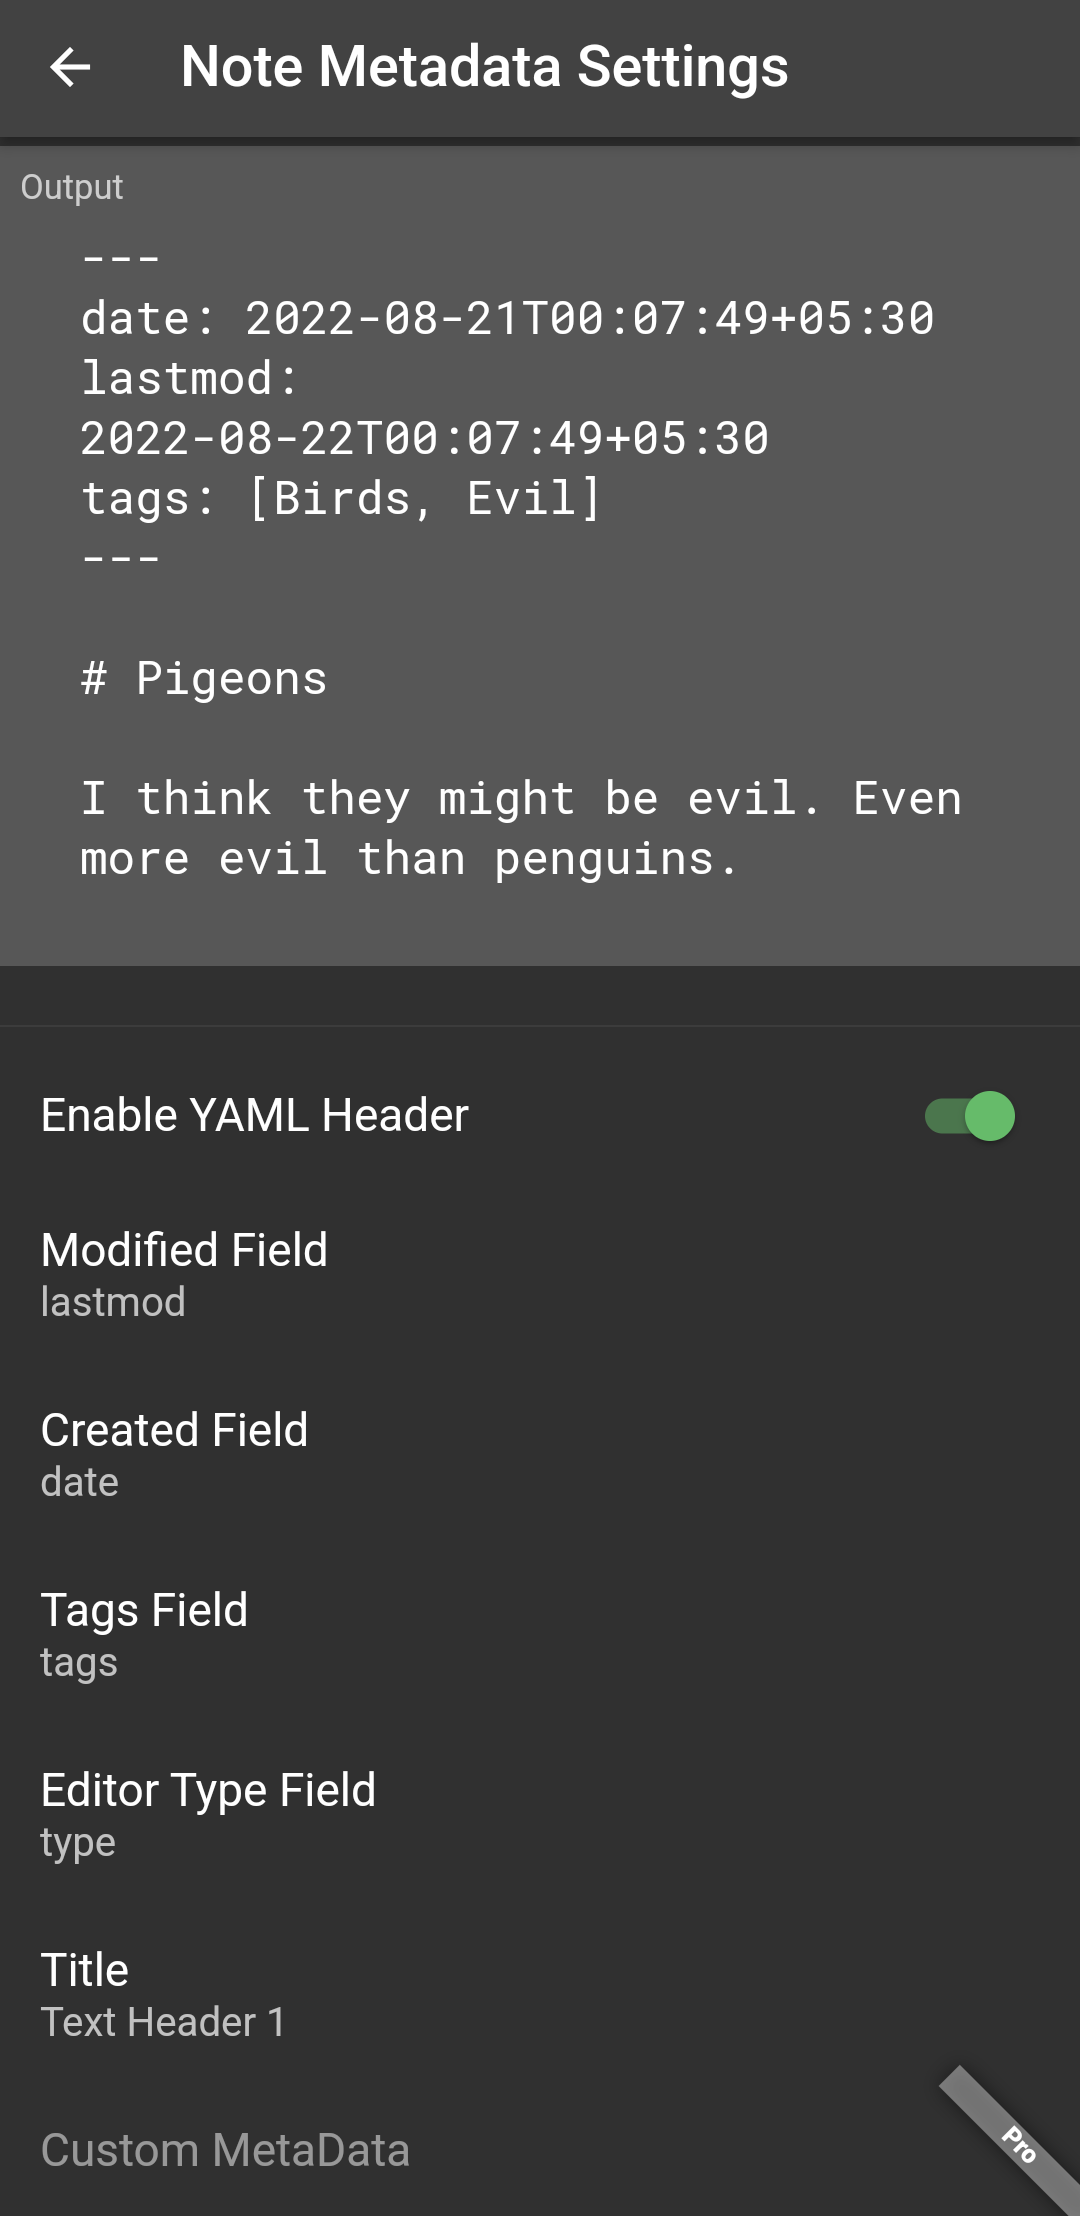
Before you start anything we need to change a few settings. Go to the Storage & File Formats section and change the default folder for new notes to content . Inside Note Metadata Settings turn on Enable YAML Header. Modified Field should be set to lastmod. Created field should be set to date. Set Tags field to tags.
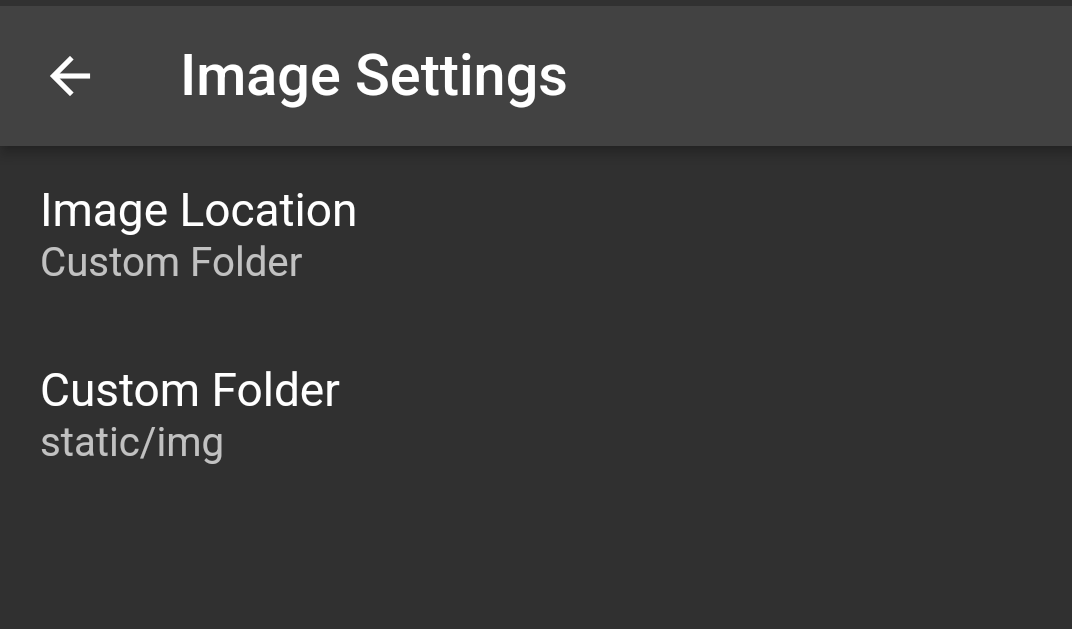
As for images set the image location to anywhere inside the static folder. I created a folder inside static called img where I keep all my images. Everytime you want to add images to the post use the markdown syntax for images, in case of url it should be /img/duck.png if you want to show duck.png to your post. The file should be located inside /static/img/ folder.
Conclusion:
It’s pretty easy to set up and maintain. Better than Twitter in every way. Maybe I’ll do a follow up if I add new features like comments or likes. Until then enjoy:) Don’t forget to email me if you get stuck, I’ll help you happily.
Thanks:
Thanks to Luke Smith for getting me started on Hugo.