Inspiration:
As far as I can remember, I came to know about Hugo from some personal blogs, which I have found through Hacker News. Before this I was coding everything manually for each blog post. (you can see examples of those here.) And yes it was tedious. I noticed that I spent most of my time making the html and css, instead of writting the actual content. Also the friction involed in getting my post published made me less likely to post. Clearly something needs to change. I started playing with Hugo. And With little bit of research and guides form Youtube, I started learning about it. Decided that I would make my blog separate from my website, that way it would be easier to manage. I initially used premade themes by community for my website. Themes usually decide how your website will look. (It’s just like wordpress themes.) I also created another seprate website on a subdomain for my gallery website. Premade themes are very good nontheless, but they are not suitable for me. I do not want to use any JS if possible. So I needed to create my own theme. After reading on the Hugo Documentation and taking help from this video by Luke Smith, I created my own theme. It is going to be a simple theme, but functional and beautiful.
Step by step process of creating this theme:
Before you start creating a theme for Hugo you need to create a website first. Open your terminal and type:
hugo new site new-site
“new-site” is the name of the website. It can be anything.
You should see a folder named new-site. At this point your hugo website has been created.
Now, to create a new theme, run the following command:
hugo new theme my-new-theme
my-new-theme is the name of the theme. Before you do anything, edit config.toml file and add the following line:
theme = my-new-theme
Now head over to themes/my-new-theme folder. We’re going to edit stuff inside layouts as for now.
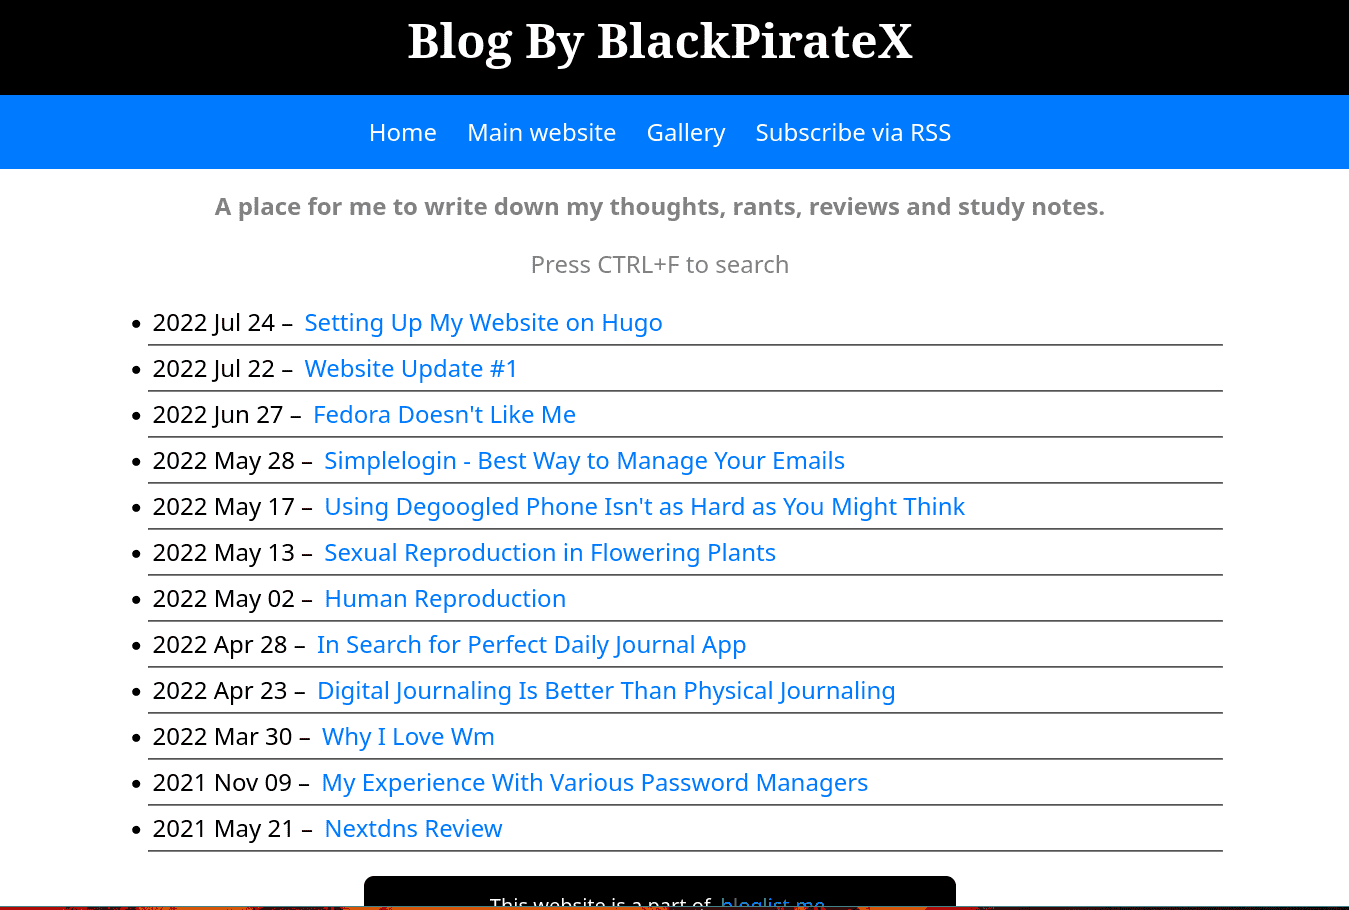
index.html file in the layouts folder is the file that decides what would be shown on the home page of your website. In my case, you can see the following code:
{{- partial "head.html" . -}}
<body>
{{- partial "header.html" . -}}
<div class="all-content">
<h4 class="description">{{ .Site.Params.description }}</h4>
<div class="posts">
<p class="author">Press CTRL+F to search</p>
<ul>
{{- range.RegularPages }}
<li class="post-list">
<time datetime="{{ .Date.Format "2006-01-02T15:04:05Z07:00" }}">{{ .Date.Format "2006 Jan 02" }}</time>
–
<a href="{{ .RelPermalink }}">{{ .Title }}</a>
</li>
<hr class="post-divider">
{{ end -}}
</ul>
</div>
{{- partial "footer.html" . -}}
</div>
<body></html>Ignore anything above all-content div. The h4 tag sets pulls description from the config.toml in root directory of the website. Hugo has some site wide variables that you can use, (learn more here) in this case we are pulling .Site.Params.description . For this to work you need to have the following lines in your config.toml file.
[params]
  author = 'Nikola Tesla'
  description = "Tesla's Awesome Hugo Site"
Just like description you can also pull author with {{ .Site.Params.author }} variable.
Next {{- range.RegularPages }} is like a for loop. It will run multiple times to list all the Regular Pages, regular pages are all the post pages of your website. It does not include pages like homepage, tags/catagories page etc. The <time> tag inside li is what shows the time. In Hugo, you can format time using January 2th 2006, this date. For example if you want to show the date in dd/mm/yyyy format use the following code:
{{ .Date.Format "02/01/2006" }}
{{ .RelPermalink }} grabs the relative url of those Regular Pages and {{ .Title }} would add the title of the page. I have also added an hr tag just for asthetic reasons and now you end the loop by {{ end }} .
It should now show all the latest posts of your blog. If you dont have any quickly create one by following command:
hugo new content/my-new-post.md
It would create a new post called My New Post.
defaults folder
This is the folder named _defaults, it has 3 files.
baseof.htmlsingle.html- decides how your post page would look like.list.html- decides how your list page (tag pages, catagory pages) would look like.
My single.html page looks like this.
{{- partial "head.html" . -}}
{{- partial "header.html" . -}}
<div class="all-content">

    <h1 class="post-title">{{ .Title }}</h1>
    <p class="author">Posted on {{ .Date.Format "January 02, 2006" }}</p>
    <p class="author">By {{ .Site.Params.author }}. {{ .WordCount }} words. Read by {{ .ReadingTime }} minute(s).</p>

    {{ .Content }}
    <p class="author"><a href="https://github.com/blackpiratelive/blog/blob/main/content/{{ .File.BaseFileName }}.{{ .File.Ext }}">edit this page</a></p>
    <p class="author">
        This post is tagged with:
        {{ range (.GetTerms "tags") }}
            <span><a href="{{ .Permalink }}">{{ .LinkTitle }}</a>,</span>
        {{ end }}
    </p>


</div>
{{- partial "footer.html" . -}}
</body>
</html>
{{ .Content }} is all the stuff inside your markdown of the post. Everything else is self explanatory. If you are still struggling to understand, read this page of hugo documentation.
{{ range (.GetTerms "tags") }} is another loop, which lists all the tags and makes them clickable.
Below is my list.html file:
{{- partial "head.html" . -}}
{{- partial "header.html" . -}}
<div class="all-content">
<h1>Items with
{{ .Title }}
{{ .Data.Singular }}</h1>
<ul>
{{- range.Pages }}
<li>
<time datetime="{{ .Date.Format "2006-01-02T15:04:05Z07:00" }}">{{ .Date.Format "2006 Jan 02" }}</time>
–
<a href="{{ .RelPermalink }}">{{ .Title }}</a>
</li>
{{ end -}}
</ul>It lists all the posts that are tagged with same thing. Should not be very hard to understand. Learn more here.
partials folder
This folder contains all the header and footer stuff. For example my navbar, along with heading is located inside header.html file. It’s a html file with hugo variables. footer.html contains my footer. Anything that I need to put inside <head> would go inside head.html. You can attach contents of these by using following code:
{{- partial "head.html" . -}}
This would add all the contents of head.html into that space.
Adding css/js to the html
So far we have only dealt with html files. Now its time to use css and js to stylize website.
In the themes folder, open the folder with the name of your theme, in this case open the folder named my-new-theme. It is located in SITE-ROOT/themes/my-new-theme directory. You should see a folder named static. If doesn’t exist create one. Inside static folder all your css and js will go. I have created another folder named css for further organization. When hugo complies the actual code the anything inside static folder would be inside root directory. So to link my html and css, add it inside the head.html file.
It should look like this:
<link rel="stylesheet" href="/css/style.css">style.css is the name of the css file.
Same way you can also add js to your website.
Conclusion
This is everything that should be enough for you to start making your own theme with Hugo. There’s much more to hugo, then what I said here. Feel free to read their documentation if you get stuck. Or you can send me an email. Thank you for reading. If I did any mistake somewhere corrections are appriciated. Thank you.
If you have anything to comment about this post, you can mail me at comments@blackpiratex.com, I’ll be waiting for your email.